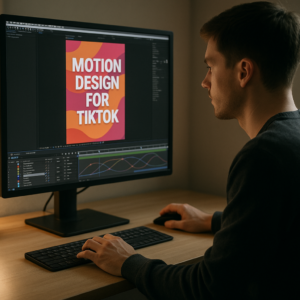
Animating map routes in After Effects is a powerful way to tell travel stories, explain logistics, or visualise journey-based data. This guide walks through practical, repeatable workflows you can adapt for any client, channel, or brand style, whether you are new to AE or refining an existing motion graphics pipeline.Explore route templates
Understanding Map Route Animation Basics
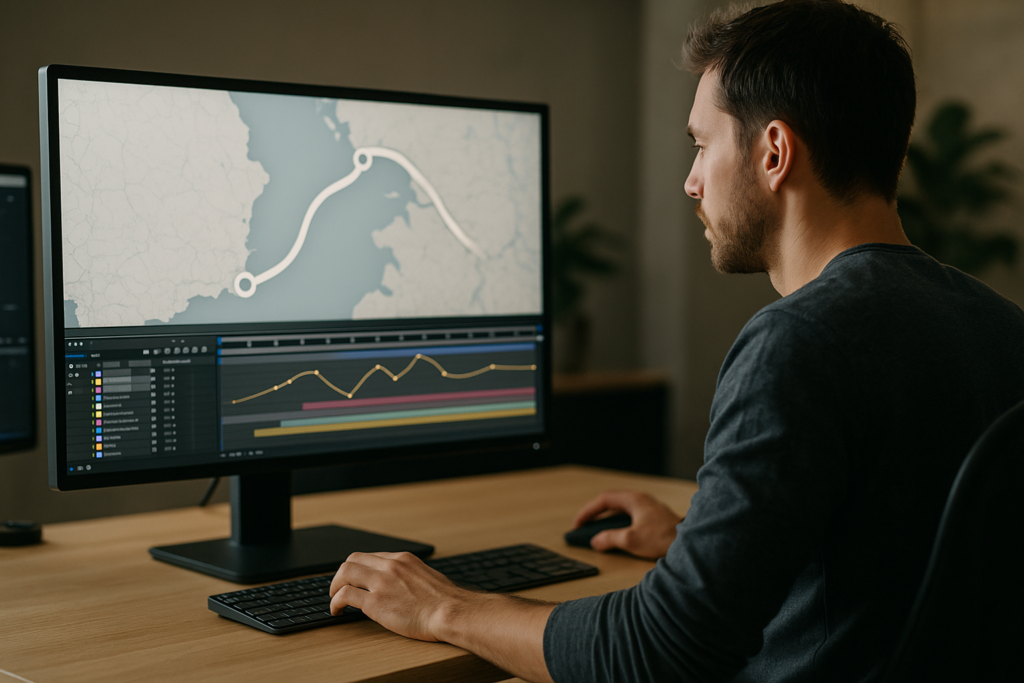
When people search for how to animate map routes in After Effects, they usually want a clean line traveling across a map, with locations, labels, and maybe icons that move in sync. At its core, a route animation is simply a path, a moving indicator, and some supporting graphics.
What a map route animation actually is
A typical map route animation in After Effects combines:
- A static or animated map background
- A path that represents the route, usually drawn with the Pen Tool
- A stroke reveal (Trim Paths or animated masks) to show the journey over time
- A moving marker or icon following the path
- Location labels, callouts, or small UI widgets
Why map routes matter for motion design
Route and location animations are popular in:
- Travel vlogs and documentaries
- Corporate explainers (logistics, deliveries, global offices)
- Event promos and conference openers
- Social media stories showing before/after locations
- Product videos demonstrating coverage areas or app features
They help the viewer understand movement and distance quickly, so timing and clarity are more important than flashy effects.
Who this workflow is for
This tutorial is aimed at:
- Editors who primarily work in Premiere Pro and occasionally open AE for map graphics
- Motion designers building repeatable route systems for clients
- Content creators who want reusable setups that work for reels, shorts, and YouTube videos
The basic building blocks inside After Effects
Before getting into location animation AE techniques, it helps to recognize the main AE features you will rely on:
- Shape layers for route lines, dots, and markers
- Trim Paths to animate strokes along a path
- Parenting or Pick Whip to attach labels and icons to the marker
- Precomps to keep maps, routes, and labels organized
- Expressions (optional) to link marker movement to the route with more control
Once you understand these basics, creating flexible map routes becomes a repeatable, modular process instead of a one-off effect.
Location Animation AE Variations and Use Cases
Location animation AE workflows go beyond a single line on a map. You can create pins dropping in, animated UI cards, and app-like widgets that show location data in a more dynamic way.
Common styles of location animation
- Simple line routes – A single path with a dot or plane icon moving along it.
- Multi-stop routes – Several locations connected by segments, often with numbered markers.
- City-to-city jump cuts – Camera jumps or smooth zooms between different parts of a map.
- App-style overlays – Floating UI cards showing address, distance, or ETA over the map.
- Infographic style – Clean, minimal linework with data labels and subtle motion.
Templates and widgets for location animation
You can build everything from scratch, but using prebuilt UI elements and widgets can make routes feel like a real product or app. For example, pairing a route animation with a minimal UI overlay similar to a map widget template can quickly create a polished, app-like look.
Other motion design elements that complement map routes include lyric-style text reveals (for travel titles), liquid overlays, and cinematic transitions. Collections like video-ready After Effects templates can give you reusable building blocks that drop onto your existing comps.
Matching route animations to content type
- Travel vlogs – Hand-drawn, organic lines and playful pins.
- Corporate explainers – Minimal routes, muted colors, clear labels.
- Fintech or delivery apps – UI-driven look, card widgets, and data readouts, similar to a clean fintech animation style.
- Music or lifestyle edits – More stylized maps that match the energy of pieces like music-based visuals.
Linear vs. curved routes
For world maps, curved routes (Bezier paths) often look more natural and dynamic. For city maps or metro diagrams, sharper, grid-like lines can feel more accurate. Both are easy to achieve with the Pen Tool; just adjust your handles to set curvature.
Typical Map Route Animation Mistakes to Avoid
Before building your own system for how to animate map routes in After Effects, it helps to know the pitfalls that slow projects down or make them hard to revise later.
Messy compositions
- All elements (map, line, markers, labels) sit in one comp.
- Layers are unnamed and ungrouped.
This makes revisions painful. Instead, separate:
- Map background precomp
- Route lines precomp
- Markers and labels precomp
Timing that does not match the story
- Route draws too quickly for viewers to follow.
- Marker motion is linear and robotic.
- Labels pop in off-beat with the music or VO.
Use easy ease and the Graph Editor to shape motion so the journey feels natural and matches narration or music beats.
Ignoring motion blur and scale
- Route lines are too thin to see at mobile resolutions.
- Markers are too large and cover important map details.
- Motion blur is either missing or exaggerated.
Test at 100 percent scale and on a phone if your delivery is social. Add subtle motion blur only where speed justifies it.
Heavy plugins and complex effects
- Using multiple third-party map plugins for simple lines.
- Stacking glows, blurs, and complex expressions on every element.
This slows previews and renders. Often, a clean Trim Paths animation on a shape layer does the job better and faster.
Bad precomp strategy
- Precomps with mismatched resolutions and frame rates.
- Nested precomps that are hard to access later.
Decide your master comp settings early (e.g., 1920×1080, 25 or 30 fps) and create all route-related precomps from that context.
No plan for revisions
- Route paths are baked into raster images instead of vector or shape layers.
- Labels are hand-positioned instead of parented to markers.
This makes client changes painful. Keep lines and markers procedural so you can drag points, move stops, and adjust timings quickly.
Choosing the Right Route Animation Approach for Each Project
Not every map route needs the same level of detail. Your approach should match the format (reels vs. long-form), audience, and brand style.
For short social clips and reels
- Keep routes short and bold with clear contrast.
- Use quick reveals (0.5–1.5 seconds) synced to music beats.
- Limit on-screen text; rely on strong markers and icons.
This is where reusable systems or an Unlimited After Effects Templates Subscription can save time, letting you focus on story and pacing instead of rebuilding lines and pins for every new video.
For YouTube travel or documentary edits
- Use slightly slower route draws to match narration.
- Include location names, dates, or distances as lower thirds.
- Use subtle camera moves (scale and position) to keep maps dynamic.
For corporate explainers and ads
- Make the route support the main business message (coverage, reach, logistics).
- Use brand colors consistently for routes, pins, and labels.
- Keep motion clean and predictable; no exaggerated bounces.
Hybrid UI and map animations
If your project shows an app or SaaS product, mix map routes with UI elements, similar to how payment or tech widgets are used in pieces like a digital payment widget animation. Place the map route in a device frame and animate supporting UI around it.
When to build vs. when to use templates
- Build from scratch if you need a highly custom route, unusual perspective, or unique art style.
- Use templates if you repeat similar journeys, formats, or platforms week after week.
For further reading on core After Effects tools, you can reference official documentation at Adobe Help Center, then adapt those fundamentals into your own reusable route systems.
Practical Workflow for Map Route Templates in After Effects
Now let us walk through a practical, template-friendly workflow for how to animate map routes in After Effects with reusability in mind.
Project setup and compatibility
Start with a clean project file:
- Decide delivery format (1080p, 4K, vertical 1080×1920, or square).
- Set frame rate to match your edit (24, 25, or 30 fps).
- Create a MASTER_ROUTE comp using those settings.
Check version compatibility: if you share templates between editors and motion designers, keep them in widely used AE versions and avoid features not supported in earlier releases whenever possible.
Organizing precomps and naming
Use a simple folder and naming structure:
- 01_MAP – static map background or animated base layer.
- 02_ROUTE – all lines, trim paths, and markers.
- 03_LABELS_UI – titles, callouts, and widgets.
- 04_GLOBAL_CONTROLS – color and style controllers.
Name layers clearly: Route_Main_Line, Marker_Airplane, Label_City_01. This keeps location animation AE setups readable for you and any other editor opening the project.
Step-by-step route line animation
- Import or create your map background and place it in 01_MAP.
- Create a new shape layer in 02_ROUTE and draw your path with the Pen Tool.
- Add a Trim Paths animator to the shape layer.
- Keyframe the End property from 0 percent to 100 percent over your chosen duration.
- Apply easy ease and adjust the curve in the Graph Editor so the route accelerates and decelerates smoothly.
Animating the moving marker
- Create a marker icon (circle, pin, or custom graphic) as a separate shape layer.
- Copy the route path from your line shape layer.
- Paste it into the marker layer’s Position property to create a motion path.
- Align the timing of the marker’s keyframes with the Trim Paths animation.
You can then parent labels or small UI cards to the marker layer so they follow automatically.
Global controls and easy customization
To make your map routes template-friendly, create a control layer in 04_GLOBAL_CONTROLS with:
- Color controls for primary route, secondary routes, and markers.
- Checkboxes for toggling shadows, glows, or drop pins.
- Slider for global stroke width (linked via expressions).
This approach is especially helpful if you want to maintain consistency across multiple videos, or build packs similar in polish to a clean UI-focused piece like animated channel widgets.
Performance tips for smooth previews
- Lower preview resolution to Half or Third when animating the map.
- Use Region of Interest to focus on the active area.
- Disable heavy effects while blocking animation; enable them before final render.
- Pre-render static map backgrounds to lightweight formats if they are large.
For long travel sequences, consider creating shorter route segments as separate comps and stitching them together in a master timeline to avoid heavy nested structures.
Plugin dependencies and safe alternatives
If your workflow uses third-party plugins (for glows, depth of field, or camera moves), make sure you provide a fallback:
- A version with only native AE effects.
- Instructions inside the project (e.g., a guide layer text) listing required plugins.
Keeping a plugin-light version ensures editors worldwide can open and render your project without errors.
Customization for different formats
Think ahead about how your route animation will be used:
- Reels and Shorts – Reframe the map and crop the comp vertically. You can create an alternate 9:16 comp and parent route layers to a null for fast repositioning.
- Product promos – Combine the route with UI callouts, showing steps or benefits along the path, similar in spirit to clearer UI-based animations like meeting interface widgets.
- Cinematic edits – Add subtle grain, vignettes, and camera moves to keep the map feeling integrated with live action.
Checklist for a reusable map route template
- All route lines use Trim Paths for flexible timing.
- Markers and labels are parented and driven by the same path.
- Global control layer changes colors and stroke widths in one place.
- Precomps are clearly separated (map, route, UI).
- No critical feature depends on a single obscure plugin.
- Documented instructions via in-comp notes or a short guide layer.
Once you have this in place, building new routes is as simple as editing a path, updating text, and tweaking timing to match your music or VO.
Advanced Route Systems and Long Term Workflow Optimization
After you have a basic system for location animation AE workflows, you can invest in advanced setups that save time across entire series or seasons of content.
Reusable animation systems
- Design a library of route styles: dashed lines, solid lines, glow routes, dotted paths.
- Create pre-built marker variations: city pin, airplane, train, car, ship.
- Build preset easing curves in the Graph Editor and reuse them for consistency.
Store these as master comps and reuse them just like you would reuse lyric layouts from a music-driven project such as dynamic text animations.
Consistency across a whole edit
Across a multi-episode series or brand channel:
- Lock in a color palette and type system once.
- Use the same marker shapes and label style everywhere.
- Keep camera movement behavior consistent (speed, zoom range, easing).
Save these as master styles so any new route comp automatically adopts them through expressions or prelinked control layers.
Modular transitions and styleframes
Plan key styleframes for your routes: start, mid-journey, and end. Turn them into modular blocks you can swap in different edits. You might build quick interstitials that use similar motion language to high-energy widgets like game-inspired HUD elements while still fitting your brand.
Export and render considerations
- Render test clips early to confirm fine line visibility and aliasing on the actual platform (YouTube, Instagram, TikTok).
- Use high-quality anti-aliasing on shape layers and avoid overly thin strokes at 1080p.
- Consider rendering map routes with alpha channels if you will composite them in an NLE later.
Keeping projects lightweight
- Use vector maps where possible instead of huge raster files.
- Pre-render complex sections to intermediate codecs when they are locked.
- Avoid unnecessary 3D layers or cameras unless you truly need parallax or tilt-shift effects.
Dynamic link and handoff
If you send route animations to editors working in NLEs:
- Keep layer names descriptive so they know what each element is.
- Provide a rendered version and, if necessary, a dynamically linked comp.
- Document which comps are safe to time-stretch and which rely on precise easing.
A bit of upfront organization pays off when projects get busy or when you revisit the same series months later.
Route Animation Search Intents Answered Briefly
Here are concise answers to common questions people have while learning how to animate map routes in After Effects and exploring location animation AE workflows.
- How do I make a line follow a path on a map – Draw a path with a shape layer, add Trim Paths, and keyframe the End value from 0 to 100 percent. For a moving marker, paste the path into the Position property of the marker layer.
- What is the easiest way to animate multiple stops – Use one main route path, then add small Hold keyframes on the marker position where each stop sits. Reveal labels and pins at those frames with simple opacity and position animations.
- Can I turn a Google Maps screenshot into an animated route – Yes. Import a high-resolution screenshot, place it as your background, and draw a vector path on top. Keep lines slightly thicker than you think so they remain visible after compression.
- How do I loop a route animation – Precomp the entire route sequence, then time-remap the precomp with keyframes and add a loopOut expression, or duplicate the precomp back to back and crossfade if you want a more organic feel.
- How do I match the route speed to voiceover – First lock the VO timing in your edit, then set key milestones (start city, midpoint, final destination) as markers in AE. Adjust the Trim Paths keyframes so each major stop aligns with those markers.
- What is the best format for exporting map routes – For compositing in another editor, export with alpha (e.g., ProRes 4444 or a similar codec). For direct upload, render to a platform-appropriate H.264 or HEVC preset and double-check legibility on small screens.
Bringing Your Map Route Workflow Together
You now have a full workflow for how to animate map routes in After Effects: from drawing clean paths and animating markers, to structuring templates, optimizing performance, and planning for consistent, reusable systems.
Focus on clarity first, then refine style and easing. The more you standardize comps, naming, and controls, the faster you will build new routes for travel content, explainers, and client work while keeping quality consistent.
If you want to expand this into a complete, repeatable graphics toolkit for your channel or clients, consider building or adopting a cohesive library of map routes, UI widgets, and motion elements so you spend more time on story and less time rebuilding the same setups from scratch.
Conclusions
A structured approach to map routes in After Effects makes your travel, corporate, and product videos clearer and more engaging. By combining clean paths, organized precomps, and reusable controls, you can deliver consistent results faster and adapt quickly to new briefs, platforms, and client revisions without rebuilding every animation from zero.
FAQ
Do I need plugins to animate map routes in After Effects?
No. You can animate routes with native tools like shape layers, Trim Paths, and parenting. Plugins are optional for styling or automation.
What resolution should I use for map route animations?
Match your final delivery: 1920×1080 for most landscape videos, 1080×1920 for vertical, and 4K if you need extra flexibility for reframing or zooming.
How long should a map route animation be?
For social clips, keep it under 3 seconds. For explainers or travel videos, use 3–7 seconds, timed precisely to narration or key beats in the music.
How can I reuse the same route animation in multiple edits?
Build it as a clean template: organize comps, create global controls, keep lines and markers procedural, and render with alpha for easy reuse.
What is the best way to keep text labels readable on maps?
Use high contrast, simple fonts, and subtle backgrounds or strokes around text. Test readability at 100 percent and on a phone-size preview.
Can I use 3D cameras with map route animations?
Yes, but use them sparingly. Enable 3D only when you need parallax or tilts, and keep the map and route elements grouped to avoid complexity.