Smooth motion design is what separates amateur-looking edits from confident, professional work. Whether you cut social videos, lyric visuals, widgets, or product promos, mastering smooth animation techniques will give your projects polish and clarity while saving time in the edit. This tutorial walks through practical, template-friendly workflows you can apply today.Explore template access
What Smooth Motion Design Really Means
Smooth motion design is the art of making movement feel intentional, readable, and satisfying. In After Effects, it is not just about adding keyframes; it is about how elements start, move, and stop in a way that supports the story, the brand, or the information on screen.
At its core, smooth motion design balances three ideas:
- Timing – when things move, how long they move, and how actions overlap.
- Spacing – how far elements travel between frames and how that distance changes over time.
- Rhythm – how each move relates to music, voiceover, or cuts so the viewer never feels lost.
For editors and motion designers, smooth motion design matters because it affects how viewers perceive quality. Harsh, linear movement feels cheap and distracts from the message. Smooth, carefully eased motion feels premium and keeps attention where you want it.
Who benefits from this most?
- Video editors adding animated overlays, lyrics, or widgets to timelines.
- Motion designers building UI animations, explainer scenes, or brand systems.
- Content creators who need clean, repeatable motion for shorts, reels, and YouTube.
If you work with digital templates or subscription libraries, smooth motion design is also what lets you mix multiple projects without visual chaos. Shared easing, consistent pacing, and clear animation logic help different template elements feel like a single, unified piece instead of a patchwork of styles.
This foundation will guide every decision that follows: how you choose templates, how you tweak curves, and how you organize your After Effects projects so the motion always feels deliberate and controlled.
Core Smooth Animation Techniques for Editors
Smooth animation techniques are simply methods to control timing, spacing, and rhythm in After Effects so motion feels natural. Instead of relying on default linear keyframes, you intentionally sculpt motion to match your edit and your music.
Most smooth animation techniques revolve around a few building blocks.
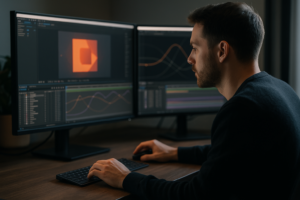
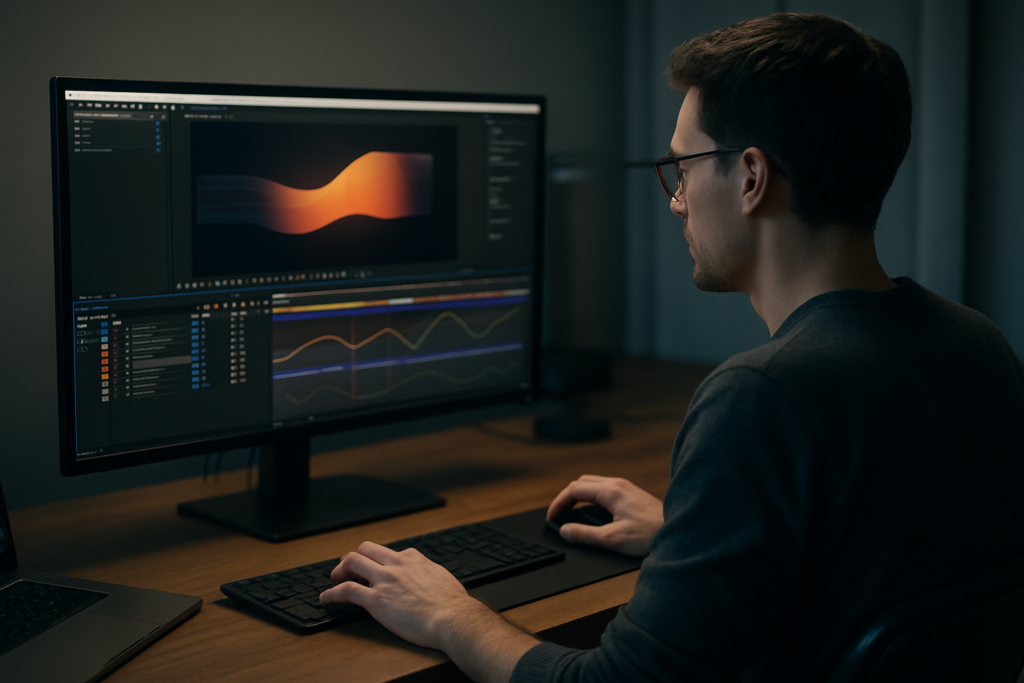
Easing and the Graph Editor
Ease is what makes keyframes feel less robotic. Using Easy Ease and then refining curves in the Graph Editor lets you control how quickly an element accelerates and decelerates. For example, a UI widget sliding into frame might start fast and gently ease into its final position, matching the feel of a modern interface.
Overlap and follow-through
Not everything should start and stop at the same time. Secondary elements can lag a few frames behind main elements. When animating multiple widgets, numbers might animate first, then icons, then highlights, each offset slightly for a layered, smooth feel.
Anticipation and settle
Mini back-moves, subtle bounces, or tiny overshoots help motions feel intentional. A panel could slightly overshoot its final position and settle back, giving a sense of weight.
To explore how professional projects apply these ideas, studying well-built templates is helpful. For example, UI-focused packs like the Google Maps widget for After Effects or lyric visuals like the The Weeknd style lyric project showcase carefully tuned easing and overlaps that feel smooth even at fast edit tempos.
Types of smooth animation techniques
- Motion-based – slides, parallax, long pans, and camera moves.
- Value-based – number counters, progress bars, and opacity fades.
- Transition-based – wipes, liquid morphs, and blur-based scene changes.
- Rhythm-based – animations keyed to beats, lyrics, or sound effects.
Each type can be built once and reused, especially when you adopt templates or preset systems as a starting point. Smooth animation techniques become a flexible language that you can apply across intros, overlays, widgets, and full-length edits.
Common Problems That Break Smooth Motion
Even experienced editors run into issues that instantly make motion feel rough or cheap. Knowing these pitfalls helps you spot them faster and avoid them in every project.
Linear keyframes everywhere
- All movement uses default linear interpolation.
- Objects start and stop abruptly with no ease.
- Camera moves feel robotic, especially in UI and lyric scenes.
Fix: Apply Easy Ease as a baseline and refine in the Graph Editor so speed ramps look intentional.
Messy timing and overlaps
- Too many elements animate at once.
- Actions do not support each other; they compete for attention.
- Text, background, and effects do not share a clear hierarchy.
Fix: Stagger keyframes. Decide what the viewer should see first, second, and third, then offset layers accordingly.
Overusing or misusing motion blur
- Motion blur is turned on for everything, even micro-movements.
- Blur length feels unrealistic or too heavy at certain frame rates.
- Performance tanks, previews stutter, and timing decisions become harder.
Fix: Use motion blur on medium and large movements only. Test at full speed before final render.
Chaotic project structure
- No precomps; everything lives in one timeline.
- Layer names are generic, making tweaks slow.
- Reuse is hard because nothing is modular.
Fix: Precomp logical groups (titles, background, widgets). Name layers by function so you can find animation systems quickly.
Heavy plugins for simple moves
- Using advanced effects when simple transforms would do.
- Relying on 3D or particle systems for minor accents.
- Laggy previews hide timing issues until very late.
Fix: Ask whether a transform, mask, or basic blur could communicate the same idea. Smooth motion depends more on timing than on complex effects.
Ignoring audio rhythm
- Animations are not aligned with beats or lyric cadence.
- Visual accents feel detached from sound design.
- Viewers feel subtle dissonance even if they cannot explain why.
Fix: Add markers for key beats or words. Nudge keyframes until motion supports the audio structure.
Use this as a quick checklist while reviewing your comp: if motion feels off, the cause is usually timing, easing, or clutter. Fixing those restores smoothness far more effectively than adding extra effects.
Choosing the Right Smooth Motion Strategy for Each Edit
Smooth motion design is not one-size-fits-all. The way you animate for a 9:16 reel is not the same as for a slow cinematic video or a corporate explainer. Your approach should follow the purpose, pacing, and platform of the project.
Social reels and shorts
- Keep moves fast but well-eased. Short timelines leave no room for sluggish transitions.
- Use bold, readable motion: big slides, snappy pop-ins, clean blinds, and wipes.
- Align key accents to beats or strong lyric syllables.
YouTube intros and lyric visuals
- Balance readability and speed: viewers need time to read titles or lyrics.
- Use camera moves and parallax to keep static shots alive.
- Limit different motion styles so the intro feels cohesive.
Ads and product promos
- Motion should highlight benefits or features, not distract.
- Use clear, directional motion to guide the eye from product to callout to price or CTA.
- Subtle, elegant easing often feels more premium than overly bouncy moves.
Corporate and UI-focused work
- Prefer clean slides, fades, and opacity reveals.
- Use consistent durations for similar actions (all cards entering over 12 frames, for example).
- Rely on modular animation systems that you can duplicate across scenes.
When you mix multiple motion styles or projects, templates can act as your baseline system. A consistent pack for lyric layouts, for instance, keeps easing and timing unified scene to scene, similar to how a UI widget set keeps menu, buttons, and cards aligned visually and motion-wise.
If you want to dig deeper into After Effects features that support these strategies, the official After Effects help and tutorials page is a solid reference for layer properties, keyframe interpolation, and rendering options.
Using a structured library, such as an Unlimited After Effects Templates Subscription, can help you quickly choose motion systems that already match your project type and platform, then customize timing and style instead of constantly building from scratch.See subscription options
Template Based Workflow for Smooth Motion Design
Templates are most powerful when they are treated as systems, not final renders. A solid workflow lets you plug them into your timeline, adjust motion to your cut, and maintain consistency across an entire project.
Check version compatibility and base settings
Before touching keyframes, confirm that the project matches your environment.
- Verify the minimum After Effects version and plugins required.
- Match comp frame rate to your edit (23.976, 25, 29.97, or 30 fps are common).
- Align resolution (1080×1920 for vertical, 1920×1080 for horizontal, etc.).
If a template is built in 29.97 fps and your timeline is 25 fps, retiming may be necessary to preserve smooth motion without unintended stutters.
Organize keyframes, precomps, and naming
Well-structured templates usually include master comps, precomps for specific scenes, and controllers for colors or timing. Before customizing:
- Rename key precomps to match their role (Intro_Title, Overlay_Widgets, etc.).
- Locate control layers with essential expressions or animation controls.
- Mark hero animations with layer markers so you can adjust offsets accurately.
Projects like lyric visuals or overlay systems, similar to the style used in Lush Life lyric animations, are easier to manage when every precomp has a clear function and timing logic.
Performance and preview tips
Smooth motion decisions are only as good as your preview. If your system struggles, you may think an animation is off when it is just stuttering playback.
- Lower preview resolution to half or quarter while timing keyframes.
- Solo key layers or use region of interest to focus on problem areas.
- Leverage disk cache and purge when performance degrades.
- Pre-render heavy sections you are not currently editing, then replace with image sequences or proxies.
Handle plugin dependencies wisely
Some templates use third-party plugins for glows, distortions, or particles. When possible:
- Check if the effect is mission-critical or purely cosmetic.
- Replace heavy effects with native alternatives for smoother previews.
- Pre-render plugin-heavy precomps once you like the motion.
The goal is to preserve smooth motion design even on modest systems by keeping everything responsive while you make timing decisions.
Customization workflow: colors, typography, transitions, timing
Work from broad to specific:
- Global look – Adjust controllers for brand colors, base fonts, and stroke thicknesses.
- Section structure – Confirm how many scenes or beats each template segment covers.
- Timing – Align scene ins and outs with the audio markers in your edit timeline.
- Micro-motion – Refine easing on key hero elements after the overall structure feels right.
When working with widget-based overlays, such as financial UI-style animations like the digital card animation project, keep icon and label motions consistent so the UI feels like one cohesive system.
Use case checklist by format
- Reels and shorts
- Confirm vertical comp setup and safe areas.
- Keep transitions fast but readable (8–14 frames).
- Use strong easing on main moves; keep supporting elements lighter.
- Ads and product promos
- Prioritize clarity of product and key benefit.
- Use directional movement to guide the viewer to text and callouts.
- Limit complex motion behind small on-screen text.
- Cinematic edits
- Slow down transitions and rely on camera moves instead of big UI slides.
- Use smooth, subtle parallax and refined easing.
- Allow moments of stillness; not every frame needs motion.
Practical step-by-step for dropping a template into your timeline
- Import the template project into After Effects.
- Open the main comp that matches your desired format.
- Swap placeholder text and media with your own assets.
- Match comp frame rate and resolution to your master sequence.
- Layer markers or guide layers to match audio beats or cuts.
- Refine easing in the Graph Editor on the key motion layers only.
- Preview in real time; adjust offsets until the motion feels smooth and intentional.
Once you have a few trusted templates aligned to your preferred style, building smooth motion across an entire series of videos becomes much faster and more consistent.
Advanced Techniques and Long Term Workflow Optimization
Once your basics are solid, smooth motion design becomes about maintaining quality at scale. The more videos you produce, the more you need systems that keep timing, easing, and style coherent across projects.
Build reusable animation systems
Instead of animating each title or widget from scratch:
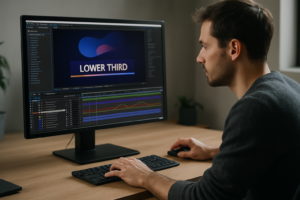
- Create a master animation rig for lower thirds, titles, or overlays.
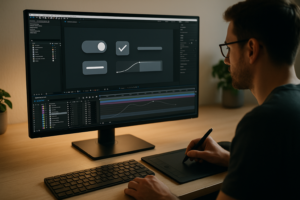
- Use expression controls (sliders, checkboxes, color controls) for timing and look.
- Duplicate the system for new scenes and only swap content.
This approach is especially effective for recurring visual elements like video widgets, countdowns, or social handles throughout a series.
Use styleframes and motion references
Before animating full sequences, design a few key styleframes and motion tests:
- Define ease profiles (for example, soft ease for titles, snappier ease for UI).
- Agree on motion boundaries: how far elements travel, how fast transitions run.
- Create a short motion reference comp as your baseline for new scenes.
Modular transitions and sections
Think of motion in chunks. Create modular transitions that can bridge any two scenes without rethinking the animation every time. Keep these transitions in a dedicated comp library.
Quality control for smooth motion
Before rendering final outputs:
- Check for unintended linear keyframes or abrupt stops.
- Confirm that similar actions share similar durations.
- Ensure motion blur is consistent across layers and scenes.
- Scan edges for popping, jittering, or aliasing on fast moves.
Export and render considerations
Render settings can affect perceived smoothness:
- Match output frame rate to your timeline; avoid unnecessary conversions.
- Use visually lossless codecs for master renders to preserve motion clarity.
- Test heavily compressed platform-specific exports to ensure motion details remain clear.
If you use a separate editing app, be mindful of dynamic link or exporting intermediate files. Heavy comps with many precomps or effects, similar to those found in complex lyric or overlay projects like high-energy lyric animations, may be better rendered out as master files before conforming in your NLE.
Keep projects lightweight for future changes
To support revisions and ongoing series work:
- Remove unused layers, footage, and precomps from the project.
- Consolidate and save a “clean master” version after sign-off.
- Document key animation rules (durations, eases, offsets) in a text layer or note.
These habits help you maintain smooth motion quality across multiple episodes, campaigns, or client projects without constantly reverse-engineering old comps.
Search Intent Focused Tips for Smooth Motion Design
Editors and motion designers often search for highly specific answers when fine-tuning smooth motion. Addressing those micro-questions can save hours of trial and error.
Common search intents and concise answers
- How do I make animations less choppy in After Effects
Ensure your comp frame rate matches your final output and edit timeline, preview at full frame rate, and refine easing in the Graph Editor instead of stacking more keyframes. - What is the best way to sync motion to music
Add markers on the timeline at key beats or lyric syllables, then snap important keyframes to those markers. Adjust offsets by 1–3 frames until the motion feels in rhythm. - How much motion blur should I use for smooth motion design
Use motion blur only on medium and large moves. Test different shutter angles, then apply a consistent setting across the project to avoid distracting variations. - How can I reuse smooth animation techniques across multiple videos
Turn frequently used animations into precomps or template scenes. Replace content while keeping timing and easing intact. Save a clean project file that acts as your motion library. - What makes template animations look inconsistent when combined
Differences in easing curves, frame rates, and transition lengths are common causes. Normalize frame rates, adjust keyframe timing, and standardize ease strength so separate templates feel like a single system. - How do I keep smooth motion when adding lots of effects
Lock down timing first using simple shapes and transforms. Only then add effects. Pre-render heavy sections and avoid changing timing after you bake them out.
Thinking in terms of these questions refines how you evaluate templates, how you adjust keyframes, and how you prepare your comps for ongoing client or channel work.
Bringing It All Together for Consistently Smooth Motion
Smooth motion design is the result of many small, intentional decisions. You define timing, keep easing consistent, organize projects clearly, and preview motion under realistic conditions. Templates and preset systems then become accelerators, letting you apply these principles faster across multiple edits.
From basic easing and overlap to template-friendly workflows and advanced optimization, the goal stays the same: motion that feels clean, confident, and aligned with your story. Once you have a few reliable systems in place, you can deliver polished results quickly, whether you are building lyric visuals, UI widgets, or full intros for clients worldwide.
If you want a steady source of motion systems to adapt instead of rebuilding from scratch, an Unlimited After Effects Templates Subscription can support a consistent, efficient workflow for every new edit.Start with smooth templates
Conclusions
Smooth motion design is about clarity, timing, and consistency, not simply more effects. By mastering easing, structure, and smart template workflows, you can deliver cleaner edits faster, maintain a cohesive style across projects, and keep your After Effects sessions organized and responsive, no matter how many videos you produce.
FAQ
What is smooth motion design in After Effects
Smooth motion design is the practice of crafting intentional, well-timed movement using easing, overlap, and rhythm so animations feel natural, readable, and cohesive.
How do I make my animations smoother without new plugins
Focus on Easy Ease, refine curves in the Graph Editor, stagger layer timing, and match frame rates. These core adjustments usually improve smoothness more than any new plugin.
Which frame rate is best for smooth animation techniques
Use the frame rate of your main edit, often 23.976, 25, or 29.97 fps. The most important factor is consistency between your After Effects comps and your final sequence.
Can templates still look unique if I use them often
Yes. Treat templates as motion systems. Change colors, typography, timing, and content while preserving the underlying easing and structure so each project feels custom but efficient.
How do I avoid choppy previews when working on detailed motion
Lower preview resolution, solo key layers, trim work areas, and pre-render heavy sections. Smooth real time previews make it easier to judge timing and easing accurately.
When should I enable motion blur for smooth motion design
Enable motion blur on noticeable movements like big slides or camera moves. Skip it on tiny adjustments and test the result at full speed before committing for final render.